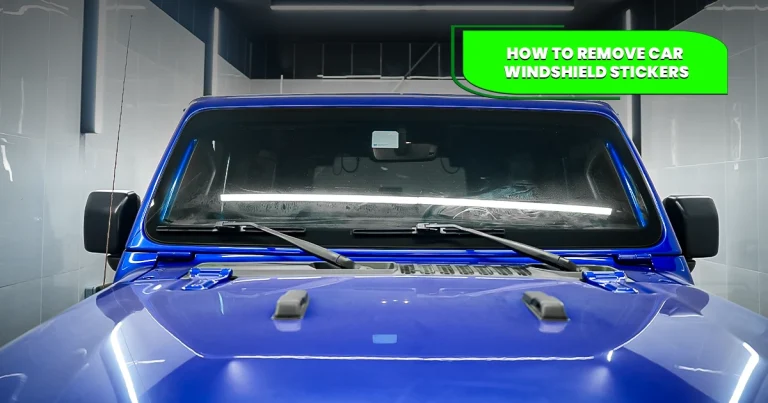
How to Remove Decal from Car Window
Car decals can add personality to your car, showing your favorite team, brand, or quote. But over time, they fade or start to peel, and removing them can be tricky. The easiest way to take off a decal is by heating it with a hairdryer, gently peeling it away, and cleaning the leftover glue with simple products like rubbing alcohol or vinegar. With a few easy tools and steps, you can safely remove a decal from a car window without scratching or damaging the glass.
Why Remove Old Car Decals?
Old decals can lose color, peel around the edges, and make your car look messy. Sometimes they block your view or leave sticky residue when they start to fall off. Over time, sunlight and weather cause the glue to harden, making removal harder. Taking off old decals not only makes your car look clean and polished but also helps maintain the glass quality and visibility, an important part of basic car detailing.
What You’ll Need
Before you start, gather a few simple tools and cleaning supplies to make the process smooth and safe:
- Hairdryer or heat gun
- Plastic scraper or old credit card
- Rubbing alcohol or white vinegar
- Glass cleaner or warm soapy water
- Microfiber cloths
- Paper towels
- Optional: Baking soda and cooking oil (for tough glue)
Having these ready will save you time and help avoid scratches on the window.
Step-by-Step Guide to Remove Decal from Car Window
Follow these easy steps to take off a car decal safely and make your window look clear again.
1. Clean the Area Around the Decal
Before starting, clean the area around the decal with soap and water. Dirt or dust can scratch the glass if you rub it while removing the sticker. Dry the area with a microfiber cloth. This helps you see the decal edges clearly and prevents small particles from causing damage during removal.
2. Heat the Decal with a Hairdryer
Plug in a hairdryer and set it to medium heat. Hold it a few inches away from the decal and move it slowly back and forth for about 30 to 60 seconds. The warm air softens the adhesive behind the decal, making it easier to peel off. Avoid overheating the glass; gentle heat is enough.
3. Peel Off the Decal Slowly
Once the decal is warm, lift one corner with your fingernail or a plastic scraper. Gently pull it back at a low angle. If it starts to tear, reheat that area and continue peeling. Take your time, pulling too fast can leave more glue behind or rip the decal into small pieces. Avoid using sharp metal tools that could scratch the window.
4. Use Rubbing Alcohol or Vinegar for Glue Residue
After the decal is gone, you may notice sticky glue left on the glass. To remove it, soak a corner of a cloth in rubbing alcohol or vinegar and press it on the residue for about 30 seconds. Then gently rub in small circles until the glue comes off. These liquids break down the adhesive without harming the glass surface.
5. Try Baking Soda and Oil for Stubborn Spots
If some sticky residue remains, mix equal parts of baking soda and cooking oil. Apply the mixture to the area and let it sit for 5–10 minutes. Then wipe it off with a soft cloth. This natural cleaner loosens stubborn glue and is safe for both glass and paint.
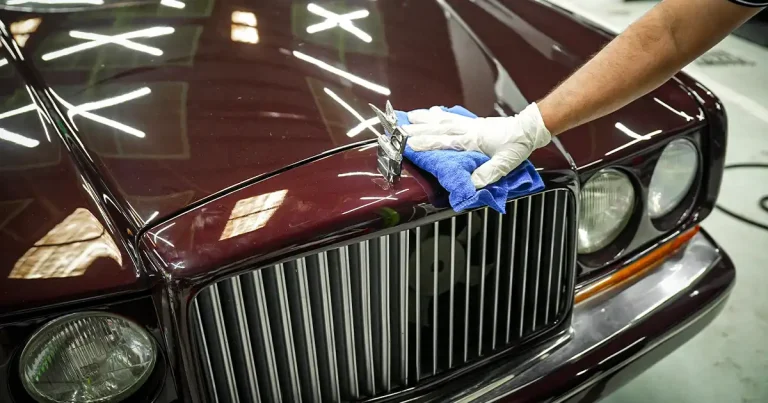
6. Wash and Polish the Glass
Once the decal and glue are gone, clean the window again with a glass cleaner or soapy water. Wipe it dry using a microfiber cloth to avoid streaks. You’ll notice the glass looking smooth, shiny, and new again. Polishing the glass after removal gives your car that clean, detailed look often seen in professional car detailing services.
7. Inspect and Protect the Area
Look closely to make sure no glue or tiny decal pieces remain. If you find any, repeat the cleaning steps on those spots. After everything looks perfect, apply a thin coat of wax or glass protectant. This adds a layer of protection against dust, water, and future adhesive buildup.
Extra Tips for Easier Decal Removal
Here are some quick tips to make your decal removal process easier and safer:
- Avoid sharp metal blades that can scratch glass.
- Don’t use hot water directly on the glass; it can cause cracks.
- Work slowly and patiently, especially on large decals.
- Heat helps the most; don’t skip this step.
- Clean the area completely before applying new decals.
These simple tips save time and prevent damage to your car window.
Prevent Future Decal Problems
If you plan to add new decals later, there are ways to make future removal easier:
- Choose high-quality vinyl decals that peel off cleanly.
- Avoid putting stickers on areas that get too much sun.
- Clean the surface before applying new decals for better adhesion.
- If possible, use static cling decals; they stick without glue and come off easily.
Taking a few precautions now will make future car detailing or cleaning much simpler.
Conclusion
Removing decals from your car window doesn’t have to be stressful. With simple tools like a hairdryer, scraper, vinegar, or rubbing alcohol, you can easily get the job done at home. Always heat the decal first, peel it gently, and clean the glue properly for a spotless finish. Regular cleaning and care keep your car looking sharp and well-maintained.
If you’d like expert help with car cleaning, polishing, or complete car detailing, contact Exotic Car Care today for professional services that make your car look brand new again.